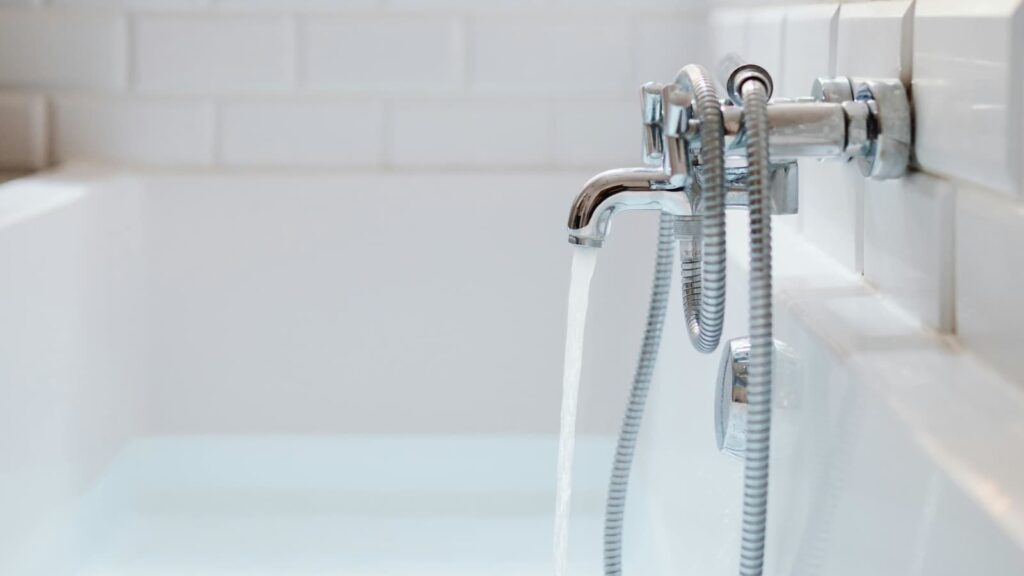
Dealing with a leaking bathtub faucet can be frustrating, but it’s a common plumbing issue that most homeowners can fix themselves. A leaking faucet not only wastes precious water and money but can also lead to water damage and mold growth if left unattended. This guide will walk you through the steps to quickly and effectively fix a leaking one-handled or two-handled bathtub faucet without the need to call a plumber.
According to The Spruce, a bathtub faucet dripping every three seconds can waste nearly 700 gallons of water annually. That’s a significant amount of water and money down the drain. Following the simple instructions in this guide, you can stop the leak and save both resources.
Identifying the Cause of the Leak
Before you can fix a leaking bathtub faucet, you must identify the root cause of the problem.
One of the most common reasons for a leaking faucet is worn-out washers or cartridges. Another possible culprit is a faulty valve seat. Additionally, a loose or damaged O-ring can also lead to leaks. In some cases, high water pressure may be the underlying issue.
To determine the exact cause of the leak, you’ll need to disassemble the faucet and inspect the internal components. This process will be covered in detail in the following steps.
Gathering the Necessary Tools and Materials
To fix a leaking bathtub faucet, you’ll need to have the right tools and materials on hand. Make sure you have the following items before you begin:
Tools Required
- Adjustable wrench
- Plumber’s pliers
- Screwdriver (both flathead and Phillips)
- Channel-lock pliers
- Tape measure
- Putty knife
- Caulk gun
Materials Required
- Replacement cartridges or washers
- Plumber’s tape (Teflon tape)
- Pipe joint compound
- Caulk
- Cleaning supplies
With these tools and materials, you’ll be well-equipped to tackle the job and get your bathtub faucet back in working order.
Step-by-Step Guide How to Fix Leaking Bathtub Faucet
Now that you have the necessary tools and materials, let’s follow the step-by-step guide to fix your leaking bathtub faucet.
If your bathtub faucet has double or single handles, you can replace specific parts instead of installing a new fixture. Remove the old parts and take them to the hardware store to find suitable replacements, as many different shapes and sizes are available.
Turn Off the Water Supply
The first step is to turn off the water supply to the bathtub faucet. This is typically done by locating the shut-off valve under the sink or behind the access panel. Once the water is turned off, turn the faucet on to release any remaining water pressure.
Disassemble the Faucet
Next, you’ll need to disassemble the faucet to access the internal components. Start by removing the faucet handle, followed by the trim and bonnet nut. This will allow you to access the cartridge or valve stem.
Remove the Faucet Handle
Carefully remove the faucet handle by gently prying it off or unscrewing it, depending on the faucet type.
Remove the Trim and Bonnet Nut
Use your adjustable wrench or plumber’s pliers to remove the trim and bonnet nut, which will expose the cartridge or valve stem.
Remove the Cartridge or Valve Stem
Carefully remove the cartridge or valve stem and inspect it for any signs of wear or damage. If the cartridge or washers are worn, you’ll need to replace them.
Inspect and Replace Parts
Carefully inspect the faucet components, including the washers, O-rings, and valve seats. If any of these parts are worn or damaged, replace them with new, high-quality replacements.
Reassemble the Faucet
Once you’ve replaced the necessary parts, it’s time to reassemble the faucet. Carefully follow the reverse order of the disassembly process, ensuring that all the components are properly aligned and tightened.
Tips for Preventing Future Leaks
To keep your bathtub faucet in top condition and prevent future leaks, consider the following tips:
- Regularly inspect the faucet for any signs of wear or damage.
- Clean the faucet regularly to prevent the buildup of mineral deposits and grime.
- Pay attention to small leaks, which can quickly become bigger, more costly problems.
- Maintain proper water pressure to prevent excessive strain on the faucet components.
- Use high-quality replacement parts when making repairs to ensure a longer-lasting solution.
- Consider hiring a professional plumber for plumbing maintenance.
When to Hire a Professional Plumber
If you are not comfortable with disassembling the faucet or encounter stubborn components, it is best to call in a professional plumber. TaskPro has qualified plumbers to ensure the job is done safely and correctly. Our plumbing repair services are designed to fix any faucet-related issues and other plumbing problems you may have.
FAQs
What is the most common cause of a leaky tub faucet?
The most common cause of a leaky tub faucet is worn-out washers or cartridges. Over time, these components can become worn or damaged, leading to water leaks.
How do you seal a leaking bathtub?
To seal a leaking bathtub, you’ll need to identify and repair the source of the leak. This may involve replacing worn washers or cartridges, tightening the faucet, or even replacing the entire faucet assembly.
How do you temporarily stop a leaky faucet?
To temporarily stop a leaky faucet, try tightening the handle or wrapping the faucet stem with a plumber’s tape. However, these are only temporary fixes, and you should still address the underlying issue to prevent further water damage.